
Workflow Automation
Automation rules do the repetitive work for you: when something happens on a claim, Claimory takes an action. Available on Professional and up.
- Step 11
Open Workflow Automation
Go to Workflow Automation. You see your rules and a Templates tab, plus stats on total rules, active rules, and executions in the last 30 days.
app.claimory.io/workflow-settings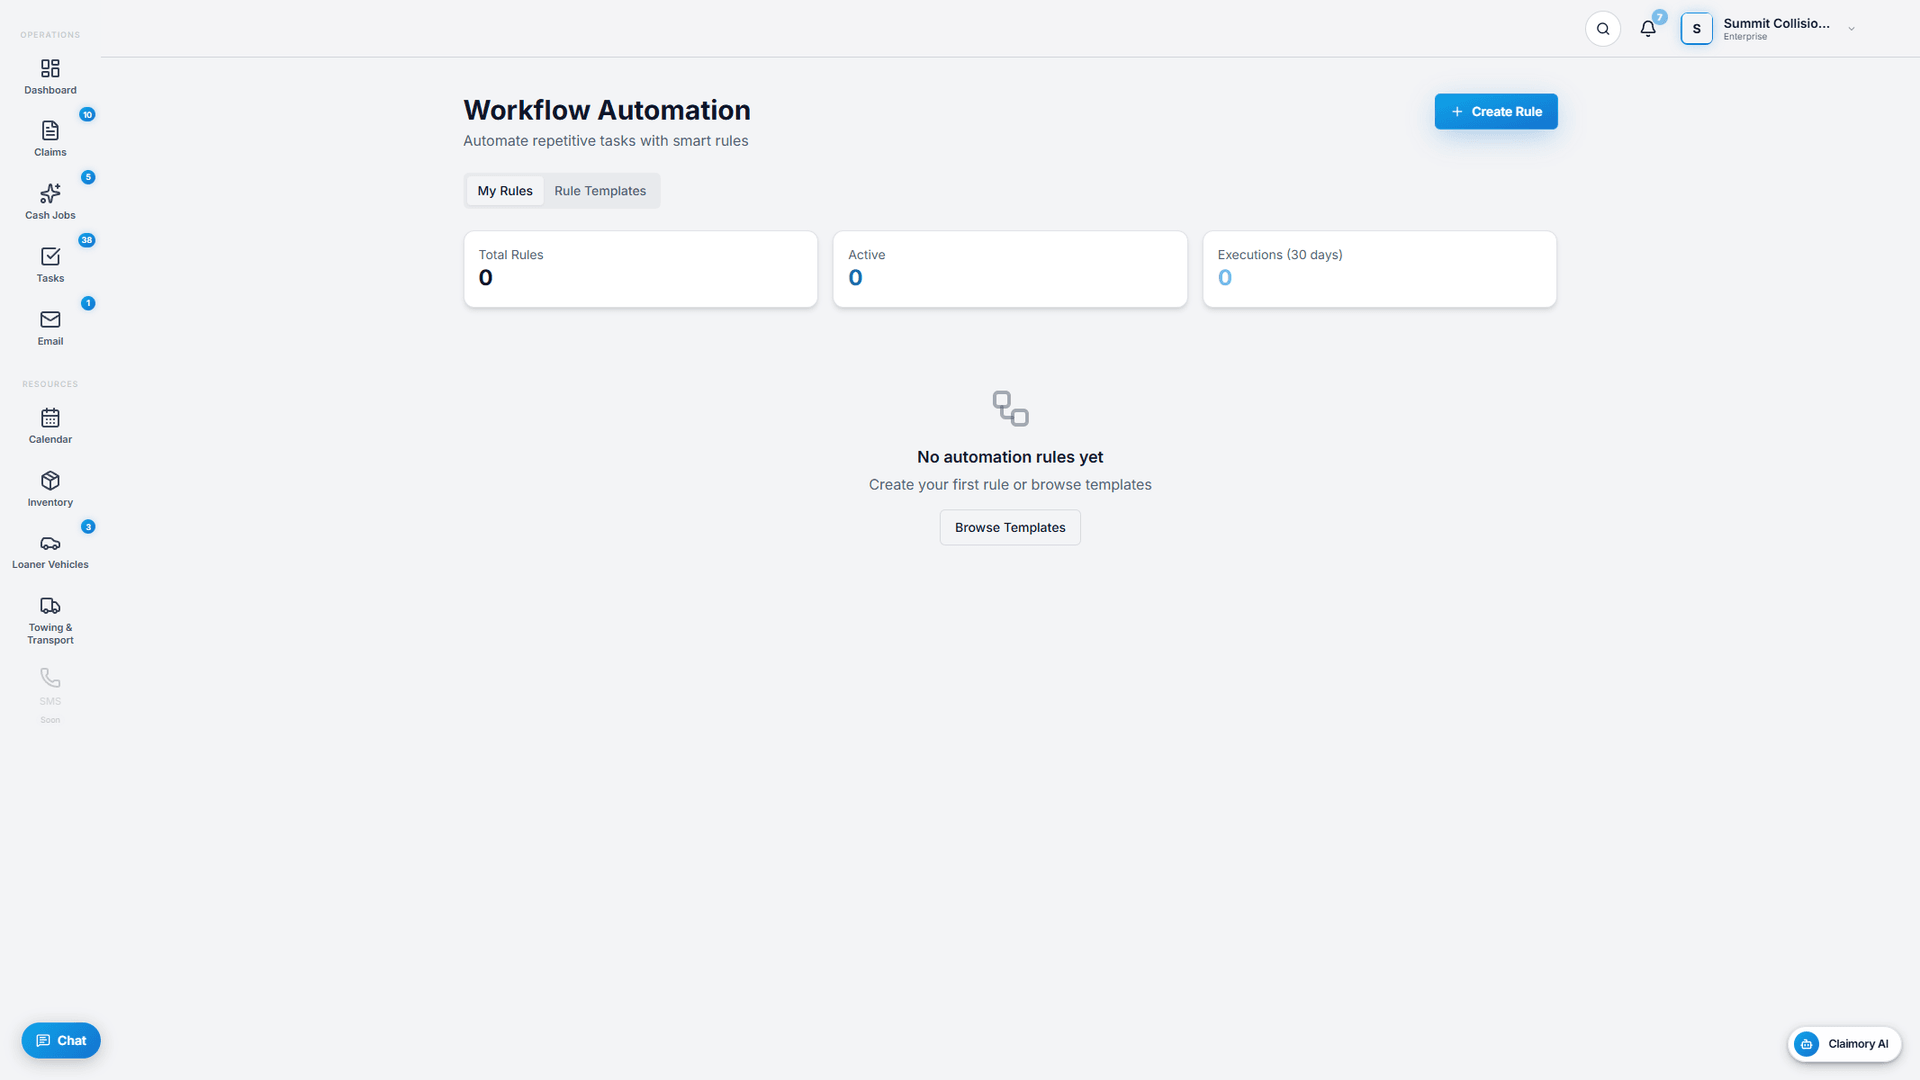
- Step 22
Understand the rule shape
Every rule is When (a trigger), If (conditions), and Then (actions). Triggers include status change, field update, date reached, overdue, new claim, payment received, and supplement approved.
app.claimory.io/workflow-settings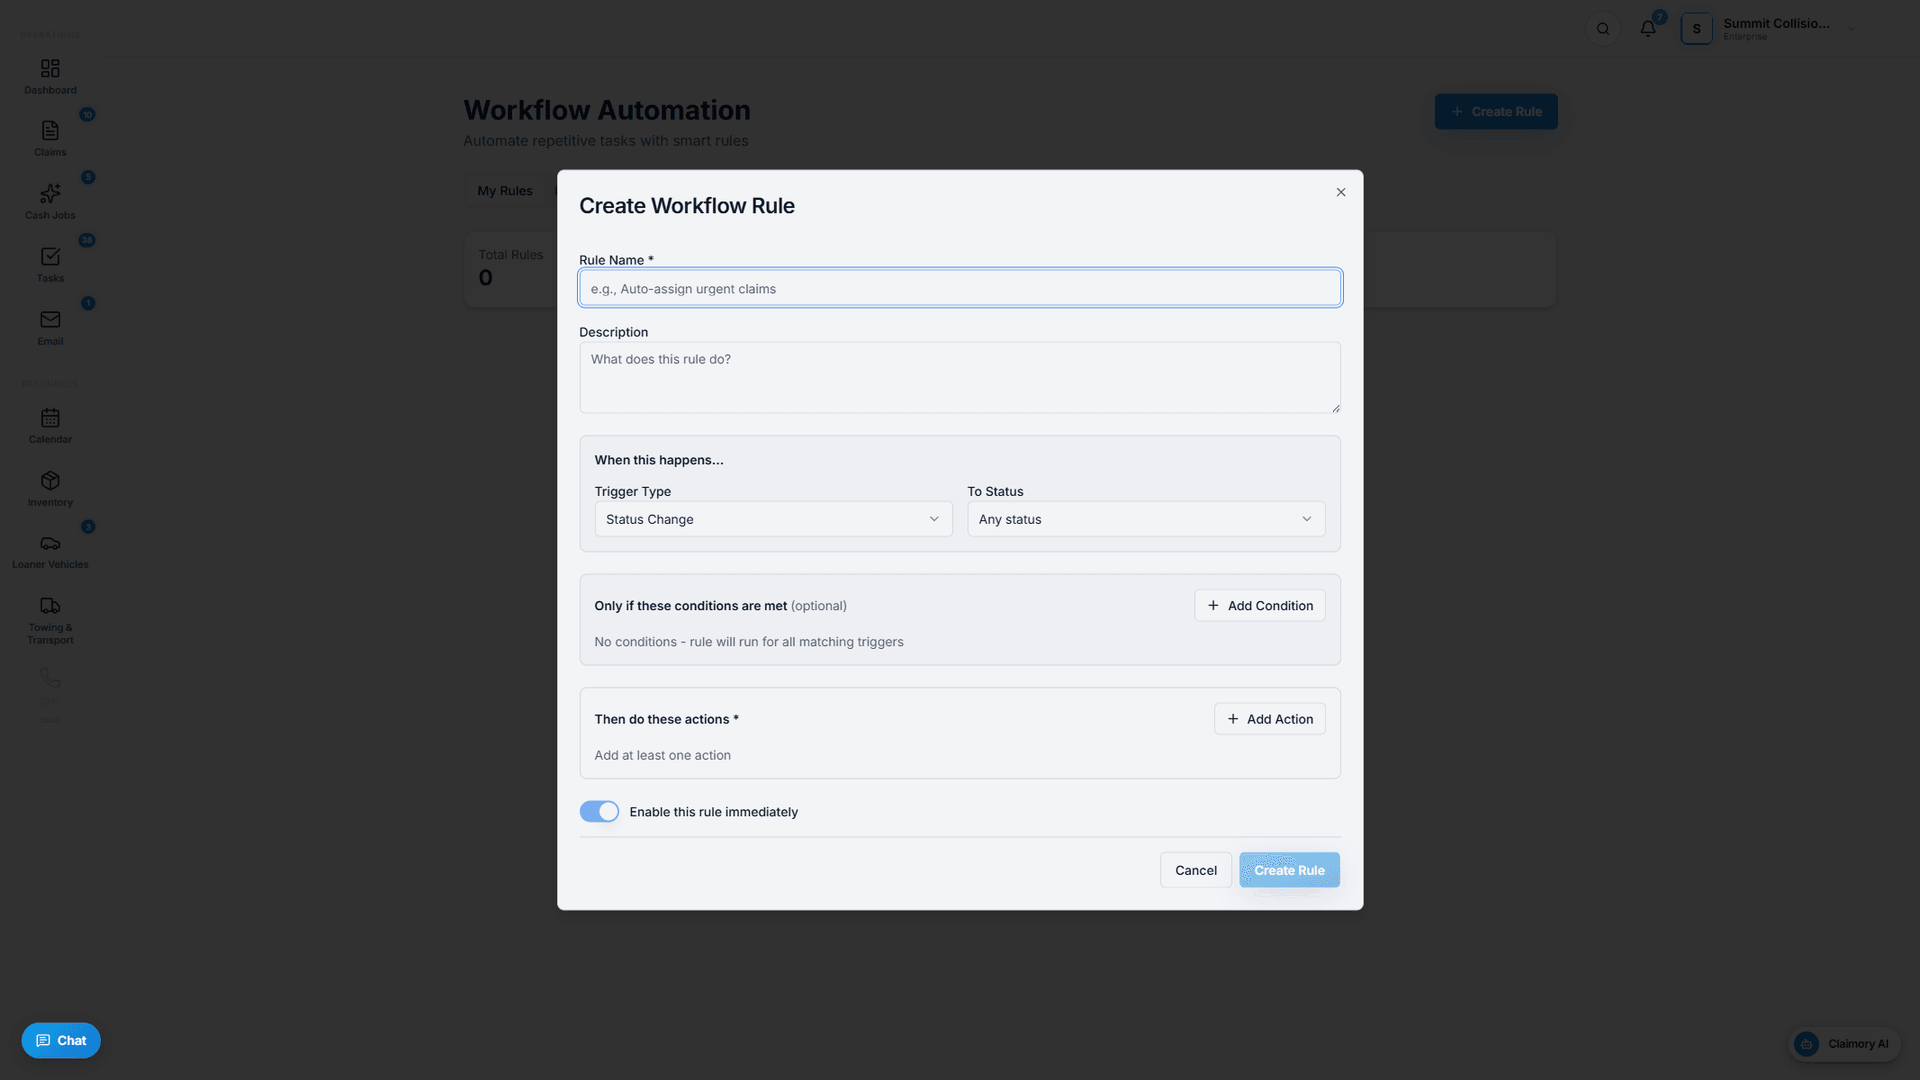
- Step 33
Pick the action
Actions include create task, send email, update field, create note, assign claim, and add flag. For example: when a claim goes overdue, create a follow-up task and add a flag.
- Step 44
Start from a template
Six built-in templates cover common cases (auto-assign urgent, supplement follow-up, overdue promise, insurance follow-up, payment notification, quality check). Use a template, then tune it. View execution logs to confirm a rule is firing.
app.claimory.io/workflow-settings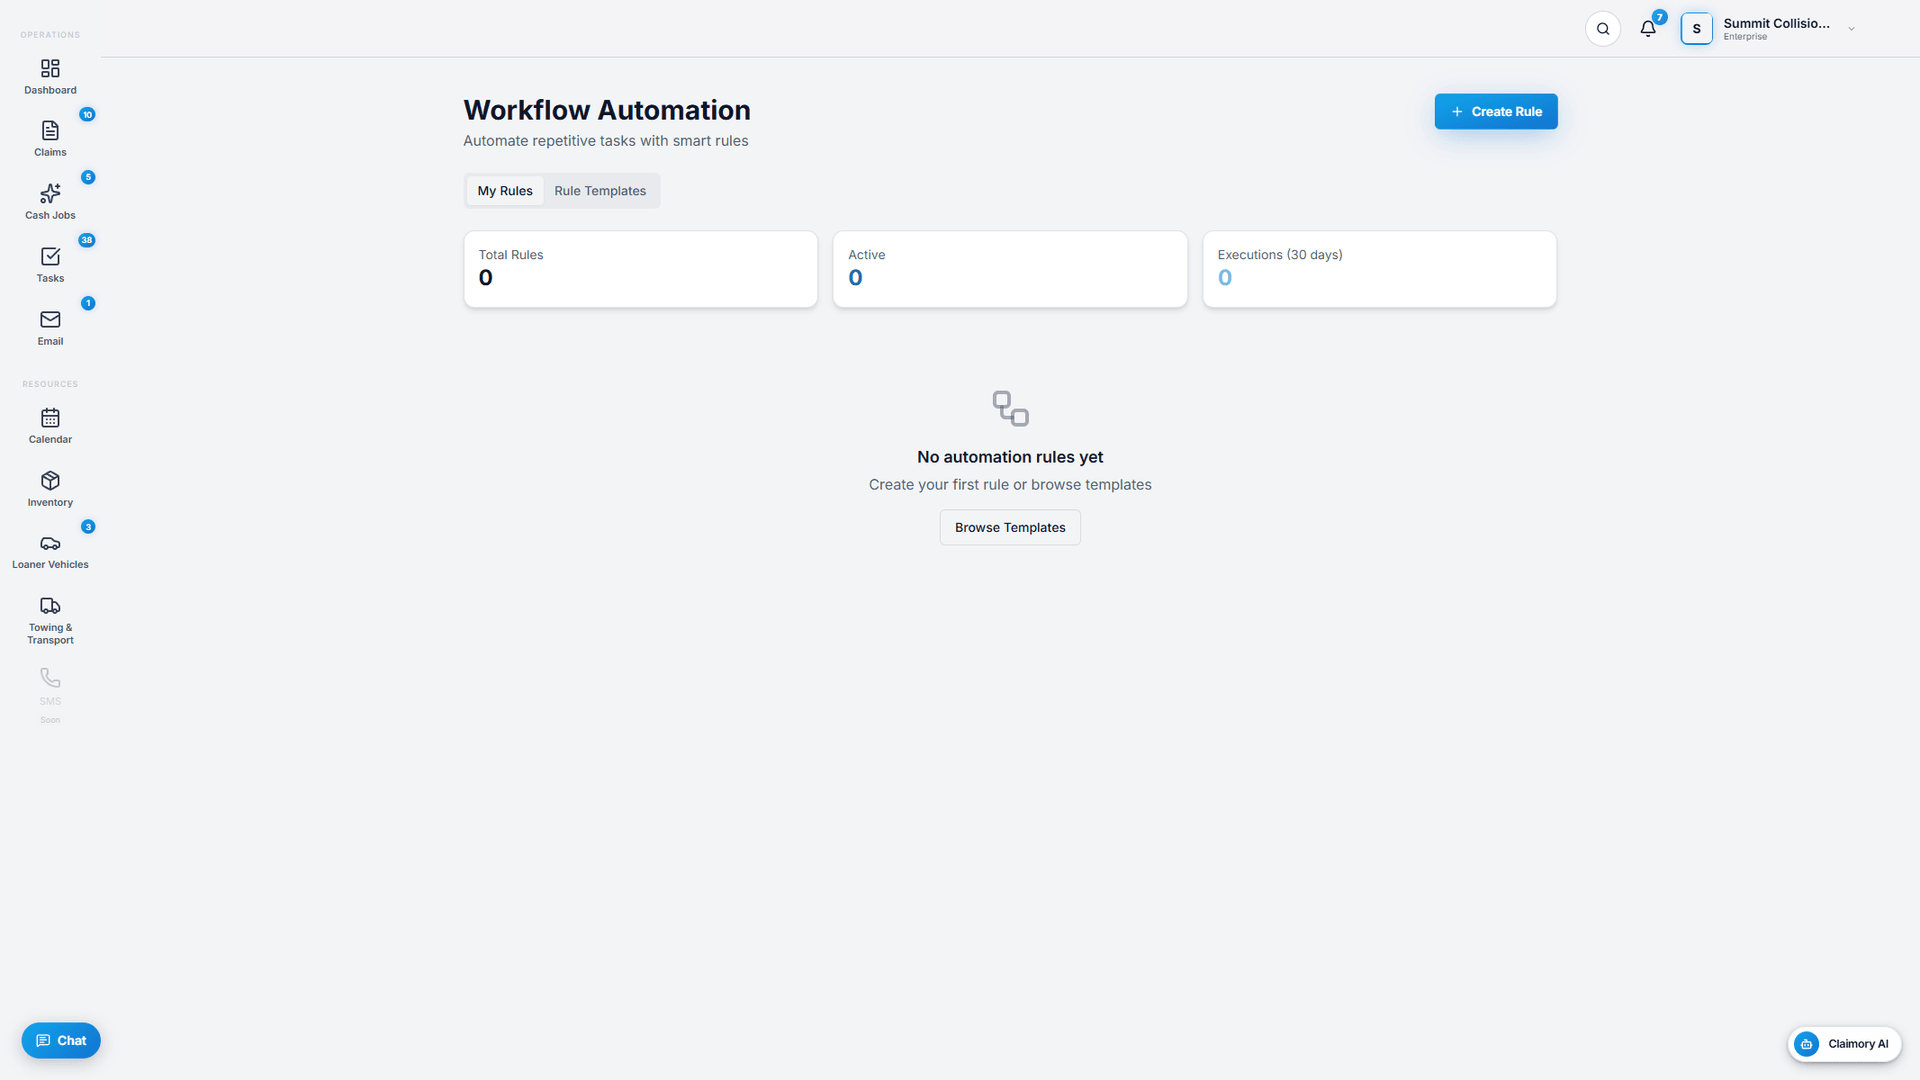


Common questions
Related tutorials
Ready to run your shop on Claimory?
Start a free 14-day trial. No credit card. The full Professional feature set, and an office manager onboarded in about 30 minutes.
No credit card. Works with CCC ONE and Mitchell.